Wednesday, December 23, 2015

Spray Light


After the success of my drill light, I decided to make another one. I had purchased a paint sprayer from Goodwill that didn't work. I was able to turn the electrical components and case into a light similar to the drill light, except with a switch and a shorter cord. In this picture I used a 75 watt light bulb, but it can handle 85 watts.

Saturday, December 19, 2015

Melted Plastic Art

Today I did more melting of random stuff. Last year, I made a video of melting a turkey timer https://www.youtube.com/watch?v=fwXu0Ougwsc. By far, my favorite thing to melt is unrinsed yogurt containers. I think the pattern of the burnt yogurt residue is interesting, but Mom thinks it's gross. This one folded back on itself as it melted and the label curled up and fell away.

I melted a plastic cup. It looks more like a flower because I cracked it first. The cup and yogurt container were done at about 350 degrees F (about 177 C).
 
Another one I did a few months ago was from a battery backup front panel and today I turned it into a refrigerator magnet.
I also tried melting leftover PLA plastic from a failed 3D print. It stuck to the foil. I tried to saw it in half but it kept binding the saw.

Saturday, November 28, 2015

Minecraft Pulse Generator

I built this pulse generator to run some stuff- harvesters and my repeater-chaser with a chicken in a minecart design. When its input signal is off, its output is off so that the pistons are retracted.

Friday, November 27, 2015

Minecraft Sugarcane Farm

 All of my sugar cane farms run on the same pulse generator I figured out how to make the harvesting system from watching a youtube video. I changed it to have different sizes, from a single cane harvest to a much larger one that I forgot the size of. A piston comes out and chops off the sugar cane that is in its path. The harvested cane goes into the river and then to a hopper and then into a hopper minecart.
medium farm

medium farm 

huge farm

small farm

contaminated with eggs and ink sacks

Spray Painting Water

This is a marbling technique that can be used to create scenes that look like water. For this project I used all the cans of spray paint I had available in my shop. I wanted the largest piece of paper that would fit in my tank, so I used a pallet divider from Sams Club.
First I filled a shallow bin with water. Then I spray painted the water and the paint floated on the surface because the solvents are lighter than water. I did this outside on the deck of my shop for better ventilation. Then I dipped the paper white side down into the bin, and the paint stuck to the paper. It took a long time to dry because it was cold and humid that day. The paper curled when it dried because only one side came into direct contact with water. Framing might make it flatter.

Minecraft Storage

Here is a floor that I made mostly from crafting tables. The tops line up and make an interesting design, and it is convenient. Since I play creative mode, resources are unlimited. The center is a hatch for the path to my firework testing room. The back wall has a button panel. Each button is for a separate ingredient. The button sends a signal to the dropper, which dispenses the item to a large chest (not shown in this picture). 

I have a large supply of sugar cane from my 4 sugar cane farms. I connected hopper pipes to the sugar cane and other ingredients that I have a lot of. Each hopper can hold 5 stacks of 64 of most items.
  
All the images below are the storage rooms.


Friday, November 13, 2015

Dust Collector and Dust Blower


The dust blower that was built in to the scroll saw did not remove much dust. I used my airbrush compressor and assorted irrigation tubing and a bolt to improve it with an external pump. The power box I built to turn on my dust collector and scroll saw needed to be expanded so I plugged in a three outlet splitter. I plugged the dust collector directly into the outlet since it uses more power. All three devices do have their own switches, but this way I can turn them all on at the same time and I don't forget to use the dust collector.

Side of saw with wiring compartment. Loose tube is for blowing dust out of the inside of the saw if it accumulates any dust.

Dust bin, shop vac, blower pump.

Front view of saw.

Using the light mounting hole to run tubing through and secure the connection. To use the tubing to blow dust out, I disconnect the white tube from the black tube and then connect it to the loose tube. 

Dual outlet switch box.
Scroll saw - shop vac - dust blower


Sunday, October 25, 2015

Homemade Plywood

Griffin started with free strips of thin wood from Home Depot. These are used as spacers in large stacks of lumber and would have been thrown away. He took three of these strips and coated them with glue. He stacked the three strips of wood and used clamps to hold them together until the glue dried. Maybe he should have used wood glue, but for this project white glue worked OK. It took a few days for the glue to dry because it was raining. After the glue dried, he sawed it with the scroll saw so that you can see the layers. Then he sanded it and added furniture polish so the wood grain shows up well.

Saturday, October 24, 2015

Homemade Dust Collector

I saw many dust collectors like this on Youtube and decided to make a smaller version for myself.
Most of the ones on Youtube use a 5 gallon bucket. I used a large plastic container for the external dust collection tank that is about 2 gallons with a 1 gallon shopvac.


I cut the hose from the shopvac and spliced it into my dust collection system. If I had more hose, I could add a 2nd stage.  The shopvac by itself worked fine, but had a smaller capacity and was harder to empty. I used a bungee cord to hold the container under the workbench.


The dust gets trapped in my bucket because of cyclonic filtration. The angle of the tube inside the bucket along with the placement of the exhaust tube to the shopvac creates a cyclone.

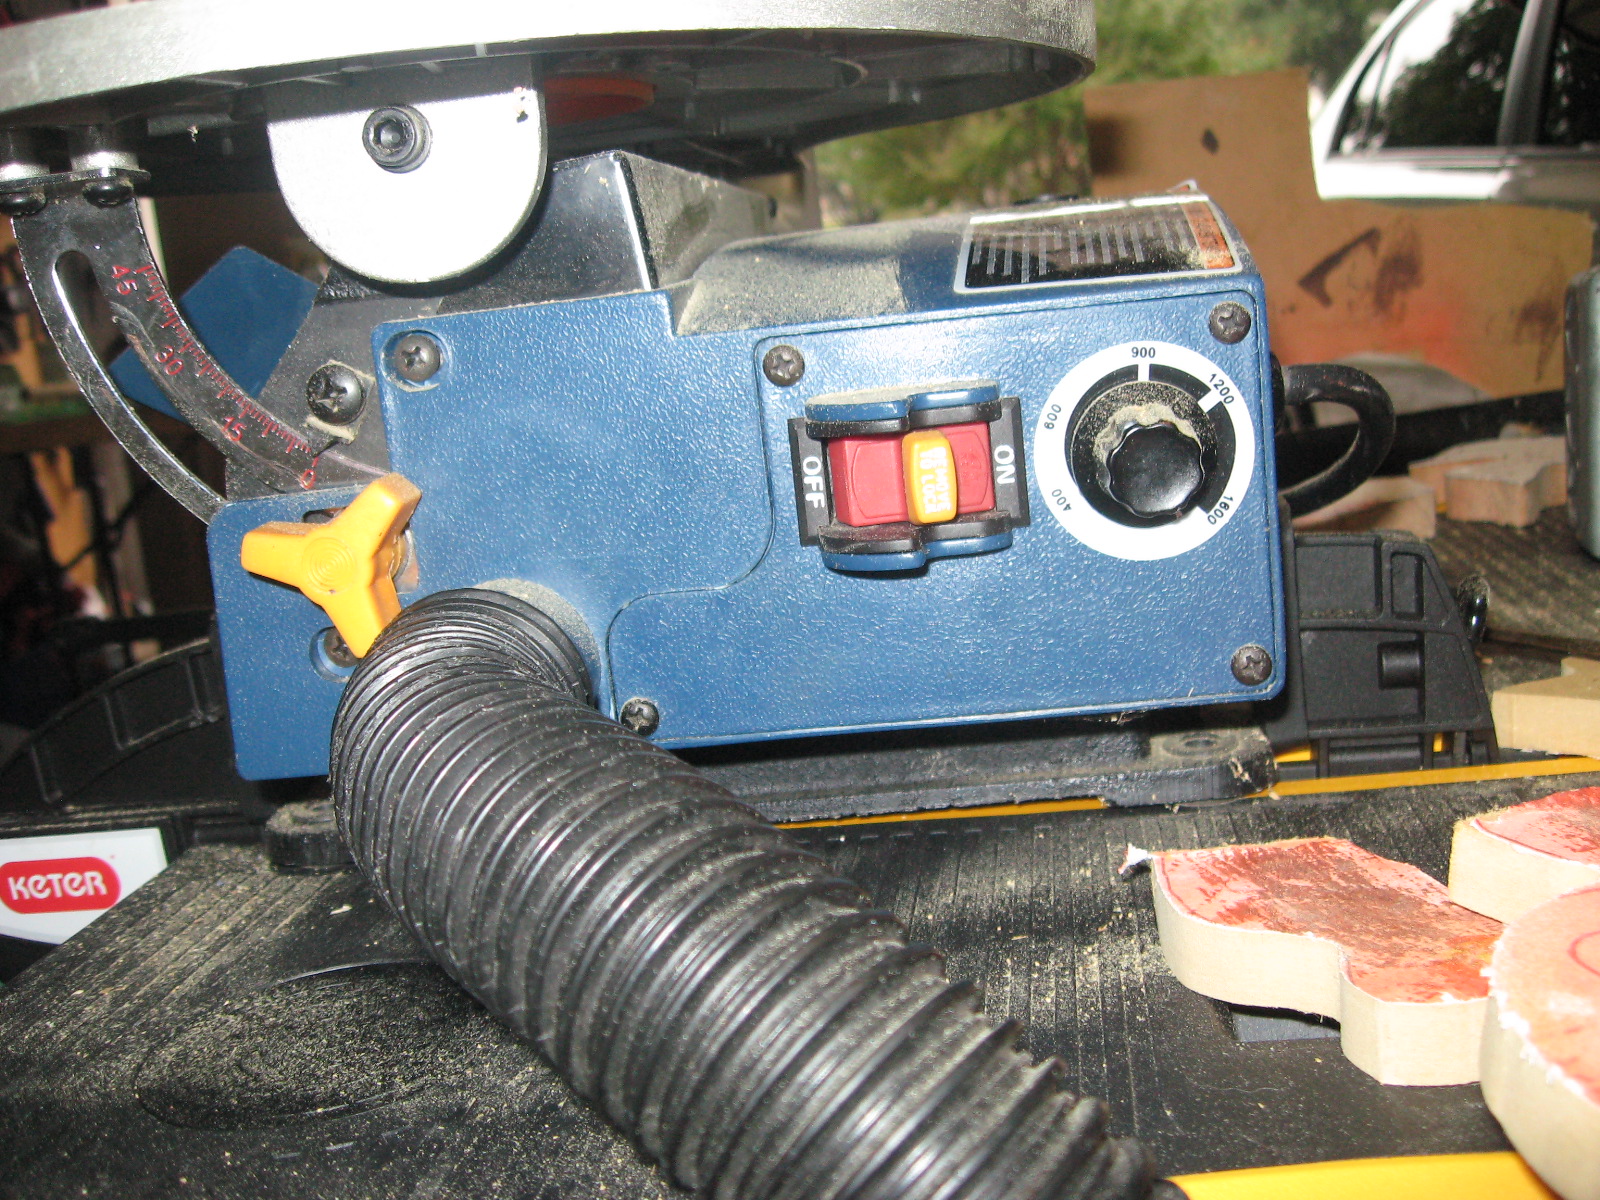
Most of the dust is from the scrollsaw. When I'm cutting MDF, the dust is finer than when I cut plywood, particle board, or real wood.  The dust collector uses more power than the saw itself.


Wednesday, October 14, 2015

12-volt automotive outlet

After taking apart the device this AC adapter was from, I decided to use the AC adapter in another project.  I first tried to with my rotary tool but the connector didn't fit well. Now I'm using it to power stuff meant to be used in a car, such as a phone charger. One problem with this AC adapter is that it uses the same input connector as my camera and I left the other cord that goes with it in my workshop. It's the highest amperage 12 volt AC adapter I own. It's 5 amps and most of the others are 1 amp.


Sunday, October 11, 2015

Homemade Flashlight


I took apart an old solar garden light because the battery was dead. I used the solar panel to make a solar annoying device. I used the driver board (which I did not take a photo of) to make a homemade flashlight. First, I coated it in hot glue so the wires wouldn't break off. The board had a resistor, an led, and a 4-lead component I could not identify, along with the wires. I used masking tape, aluminum foil, and then mounted it in a case. The case is part of the plastic from a battery backup for a piece of network equipment. I cut the section of plastic with my scroll saw. My flashlight works best with a D battery, but could work with other sizes if I modified the case. I tried "orange size" hearing aid batteries and it worked, but not for very long. It does not have a switch. You have to take the battery out to turn it off.

Sunday, September 27, 2015

Homemade Clock

With all the talk of homemade clocks in the news lately (for example, this video from one of my favorite channels: https://www.youtube.com/watch?v=cNSt1GCVqyU ), I decided to build my own. I might take it to school to show, but only after I get permission from the principal. The motor for it is a synchronous motor that I took out of a 3-way sequencing valve. It turns very slowly at 1/3 rpm, which means it takes three minutes to do one rotation. It doesn't really make a good clock because it spins counterclockwise. The clock hand is a bent blue paperclip. I didn't put any numbers on it, but if I did it would be more of a timer than a clock.


Monday, September 14, 2015

Solar Annoying Device


I designed this device to prevent my parents from leaving the fridge door open. I used a solar garden light and a beeper. There are no other components besides the panel and beeper. This would make a great prank if you left it in a light fixture. When it is placed in the light, it beeps continuously until the light is removed. 


Sunday, August 30, 2015

Toothbrush Organizer

Here is my system for keeping my toothbrush and toothpaste organized.  If each part was separate, it would take up a lot of counter space. My electric toothbrush is normally on the charging dock, which I mounted on the drawer pull. The toothbrush charging base also holds the toothpaste and the tube squeezer. The tube squeezer was meant for adhesives and sealants but works great for toothpaste.  The cord runs in one drawer, through the cabinet, and out through the next drawer. The pipe cleaner pulls the excess cord into the cabinet so it doesn't dangle on the front of the cabinet. 
Mom says this is interesting but the counter needs to be cleaned. I don't think this is related to this project but for some reason Mom wants to mention it anyway.
tooth paste
tooth brush
tube roller


View of the drawer from below with pipe cleaner bracket.

Friday, August 21, 2015

Lego EV3 Vehicle

Griffin designed a vehicle with his Lego EV3 set that uses motors, gears, and the touch sensor. It uses components from other sets including most of the gears and wheels. Griffin does not like to build the projects in the book. He always likes to invent his own.


Griffin started by building a car with the programmable brick and a set of wheels. His dad says this part isn't constructed very well, and he agrees but doesn't care. The main car is followed by a trailer with the other large motor and the medium motor. The medium motor spins a set of small gears on the back. The large motor spins a rotating brush which also moves up and down through a gear system. When the touch sensor is activated, the drive motor does 5 rotations backwards, then stops. The medium motor runs 5 rotations, then stops. Then it plays some sounds and charges forward at full speed until it hits an object with the touch sensor again.