Griffin has made many spin art machines in the past. He would start with an old motor, usually a large one. He has even used small motors like one from an electric toothbrush, or ones that came with electronics kits such as Snap Circuits (Amazon Affiliate link: https://amzn.to/3nnbYIy ) which already have experiments included for optical illusions with spinning circles.
No matter what type of motor Griffin uses, he always makes sure that he applies the correct voltage for that type, so that it works well and doesn't get damaged. These spin art machines from 2017 were very basic, just a motor with alligator clips to connect to power. The motor shaft punches through the sheet of paper, and that can be enough to make the paper spin.
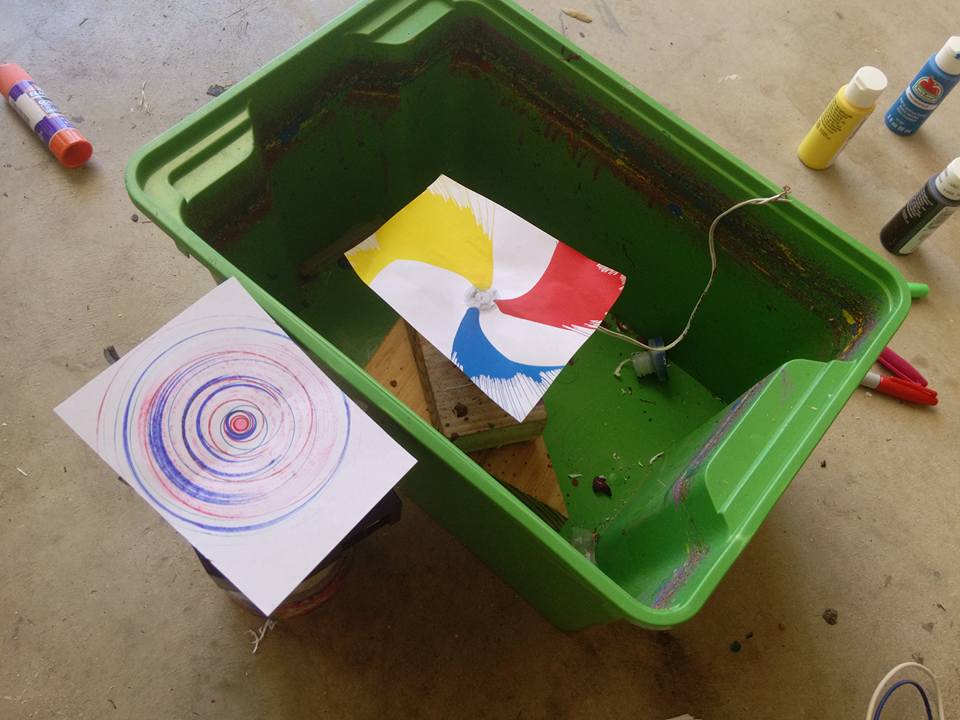
Markers work to make designs, but the patterns aren't very interesting. Paint makes great patterns, but is very messy! Griffin had the idea of putting the motor in a plastic bin to contain the splatter, but he didn't want to cut any holes in the bin. For this setup, he attached the motor to a heavy block of wood to anchor it, and then ran the wires out the top of the bin. The next step to prevent splatter was to add a lid with a target hole cut in the center. He made a lid from cardboard so he didn't have to cut a hole in the plastic lid that came with the bin, since this was temporary.
For smaller spin art machines with a tiny motor, Griffin would pre-cut the paper into circles. For larger setups with thinner paper, he would attach a cardboard circle to the motor shaft. He could use tape to attach it to the motor shaft more securely. It also supported the paper when it got wet and floppy from the paint. One time he tried a setup that could spin a two-foot circle. Unfortunately, it didn't spin very fast.


