Wednesday, June 29, 2016

Marble Maze-part 4- Vertical Wall

Here is a view of the next part of my marble maze. Marbles travel through the maze on the table top, and then go over the edge to a vertical marble maze wall.
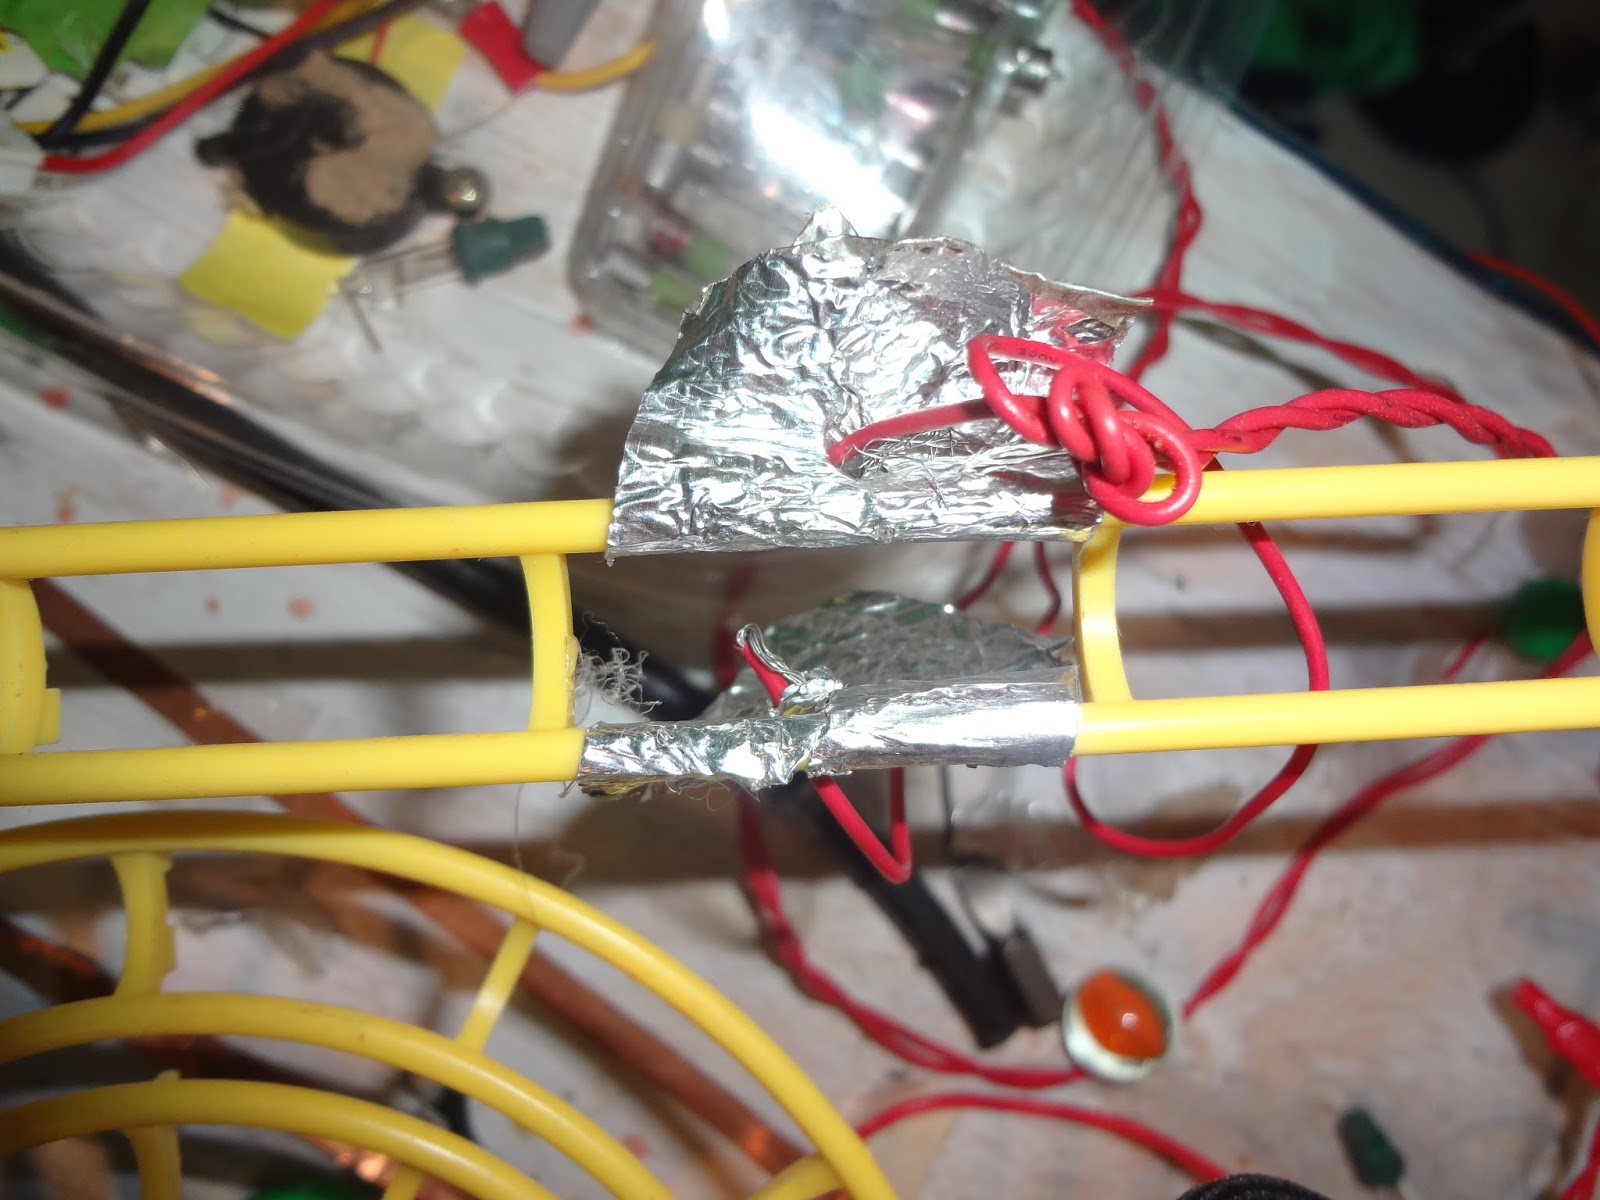
The yellow funnels and some of the other parts are from a previous version of the marble maze that I had at the 2013 Austin Mini Maker Faire. The previous version had two of these vertical walls made of thin plywood, back to back like an easel, set on top of a table. The orange striped tubing is part of a toy from the dollar store that whistles when you swing it around. The blue tube is from a water squirter toy. The grey tubing was originally part of Grandpa's CPAP machine. The yellow brackets are part of my erector set toy. The light blue tubing and the clear channels are from an actual marble maze toy.
Marbles can go down through two different paths, and then join back up at the clear channel right before the chime. When any marble hits the chime, the LEDs on the left light up. Then the marbles continue down through the lower yellow funnel, and hit the bell.

Monday, June 27, 2016

Marble Maze- part 3- Ball Bearing Detector


My marble maze has two parts that detect when marbles go by. One detector works when any type of marble hits it. The other detector only works with metal marbles (ball bearings). It works because the ball bearings are made of steel which is conductive. It consists of 2 pieces of foil tape in series with an LED string. The balls themselves complete the circuit. It was the first system on my marble maze to be powered off 2 D batteries. The ball bearing detector only works on one of the four paths through the marble maze.

Frog visits the sump pump

Today, I looked inside the air conditioner condensate tub and saw a small frog hiding in one of the holes in the brick that supports the float switch. I decided to rescue it because the holes get filled with water and then the pump runs. I moved the frog to my pond in a glass jar. Then it can decide to be in or out of the water more easily, and if it lays eggs, they won't get disturbed by the pump.

Thursday, June 23, 2016

Marble Maze- part 2- Marble and Ballbearing Detector


The Marble and Ballbearing detector makes lights flash when a marble goes by on the track. I made it out of a small windchime, string, 26 AWG wire, copper plated steel wire, a screw, and some hot glue. Some of the wire is from an old printer cable. When any type of marble goes by on the track, the marble knocks the chime into the wire. The chime dings when the marble hits it, then the circuit is completed and LEDs blink. They don't stay on long because the chime quickly swings back.

Marble Maze Part 1- FAB Compartment

Fuse and Battery Compartment.
Since I made my marble maze, it always used a battery holder for 2 D cells. I figured out how to use a single 3 Volt lithium battery instead. In place of the 2nd battery, I put a piece of wood covered with foil tape and a screw at one end. This allows power to bypass where the 2nd battery would go. It's not enough voltage for a spark to jump the gap.

There is also a 9 volt battery clip to power a beeper and experiments that need more than 3 volts. The marble maze itself uses 3 volts for everything, but I made the table area include a breadboard for experiments.

I added a fuse because I read online that D batteries can supply 8 amps when shorted out, and I wanted to protect my wiring. One time, I shorted out a slot car track, and it melted the battery pack connector to the plastic track section. That was with 4 D batteries. This fuse is less than 1 Amp.

On the lid of the Fuse and Battery Compartment is a four AA battery holder. This doesn't power anything now, but it could be used for a snap circuit project or the breadboard.
FAB compartment with lid closed

Tuesday, June 14, 2016

Blacklight in the Kitchen

Last summer, Griffin experimented with a blacklight CFL bulb. He made a video of the experiment.
https://youtu.be/et9LP6Np6Nc


He tested different items in the kitchen to see which ones glowed under the blacklight. Honey, peach juice, a white tablecloth, and plastic spoons all glowed under the light. It was interesting to investigate the dirty dishes and see what hidden evidence the light showed.


The plastic spoons seems to transmit light through them in a particular direction, which reminds us of fiber optics.


Griffin also made a diluted laundry soap solution so that he would have something that glowed well. Some types of liquid laundry soap have additives to make your clothes look brighter, which could be why they glow under the light. You could probably paint secret messages on paper that are only visible under the blacklight. (Remember to read the safety info on the bottle and keep out of reach of small children.)

Friday, June 10, 2016

Inflatable Glowing Thing


Inflated glowing thing


This inflatable glowing thing is a re-make of a project I did in 2009. This was the first Youtube video I ever did on my channel. https://www.youtube.com/watch?v=m_95CTp45-U My new inflatable thing has a smaller trash bag, inflated by a computer fan (instead of an air mattress fan like the original). It is quieter and uses less power but has a higher air flow.


LED sequence (without the bag)

I added a string of color changing LEDs. I got these LEDs from Walmart, when they were throwing out the Christmas light displays. The string has 4 modules on it. Each module has an RGB and some control circuitry.
LED circuitry (one of four copies)


The computer fan is mounted in a shoebox. Last week, I used a similar setup with the computer fan to make an exhaust fan to suck away the fumes from a crayon melting project. Then I attempted to use it as a fly vacuum. It did suck the flies in through a pvc pipe, but I forgot to design a way to empty them out. The next day when I used it again, flies walked out unharmed from the day before. If I had designed it with the opening in the pipe pointing at the fan instead of at the bottom of the box, the flies could have gotten killed by the fan or shoved out the exhaust port.


Wednesday, June 8, 2016

Experiments with molten metal


Here's a video I like by The Back Yard Scientist:

After watching several videos of metal casting and pouring metals into water (such as the video above by The Back Yard Scientist https://www.youtube.com/watch?v=tj7S_DNFgEU), I decided to try it myself. For the metal, I used lead solder. One of my previous posts goes more in depth into the melting process I used. I poured my molten lead into a 5 gallon bucket of water, and it solidified almost instantly. It made interesting shapes. It made some long, bumpy shapes, and some small discs and pellets. I can remelt the small ones easily and try again. It reminds Mom of dropping batter into hot oil.
Before I knew I could melt metal easily, I tried something similar with hot glue. When hot glue drips into water, it floats. Metal obviously sinks. The hot glue shapes were smoother and less three-dimensional because hot glue floats and has a higher viscosity. It also doesn't cause the water to boil like the lead does.


Monday, June 6, 2016

Siphons

It has been raining a lot this year, so I decided to collect the water to reuse. We don't have an actual rain barrel, so I made a temporary one out of 3 containers. I used two plastic bins and a plastic wheelbarrow. I linked them together with hoses.
To get the water from the front yard to the backyard, I siphoned it from the series of containers to the air conditioner condensate collection tub around the side of the house, and then it's pumped to my fountain in the backyard.
I have used siphons before in the summer when there was a drought to siphon water from my bathtub out the window to water plants. When we had a fish tank, we used a siphon to clean the gravel. This is the first project where I have made a series of siphons and containers. I start the siphon between bins by dipping the tube and filling it with water, then covering both ends with my fingers, and then removing my fingers once it's in place. To start the final hose, I run water from the faucet backwards, and then quickly disconnect the hose and lower it below the water level to start the siphon.
 

Metal Casting


I used my burner bucket to melt solder. The solder is a lead and tin mix with a melting point around 400F, which I got from Grandpa a few years ago. I used an aluminum soda can to make a crucible. The handle of the crucible is made of copper pipe and it balances on the edge of the bucket.

I want to make a mold to cast the metal. Clean dry sand would be good for a mold, but I don't have any. We tried clay instead. Mom made a cube of clay and added an imprint of a snail shell and a screw. She should have made a bowl-shaped mold because the excess spilled everywhere.


You can see the shape of the snail shell in the center.

Mom safety note: This project may deal with toxic materials which can be inhaled, ingested, or absorbed through the skin. Liquid metal and wax are dangerously hot and can splash. Griffin should do this project outdoors, wear eye protection and good shoes, wash his hands and take a shower afterwards, and have plenty of parental supervision. 

Waste Oil Burner


I started off with a candle in a metal bucket to do experiments with heat and fire. Then I added some used cooking oil, so now it is a waste oil burner. When the original candle wicks got lost, I added shredded paper as the new wick. Since there is still some wax in the fuel mixture, it makes a gel at room temperature. Sometimes on hot days, the wax/oil blend turns into a liquid, because the melting point is around 80 degrees F. The melting point of pure paraffin would be 99F, and canola oil 14F.


In one experiment, I injected air with my airbrush compressor through a copper pipe and it made the bucket so hot it glowed, and aluminum foil over the top drooped. In another experiment, I made a water heater. I pumped air into the fire, which didn't help it burn cleaner, but made it burn hotter. The water was going through a coil of copper pipe. With multiple runs through the system, the water got nice and warm. For another experiment, I put wax on a pie tin over the flames, and it smoked and then the fumes ignited, kind of like a grease fire. The next experiment I did was melting solder.
Water heater with air injector.

Mom safety note- experiments were done outdoors with lots of ventilation, over a non-flammable surface, with parental supervision, eye protection, and fire extinguisher nearby.