 |
| My Raspberry Pi B3+ with 3D printed case |
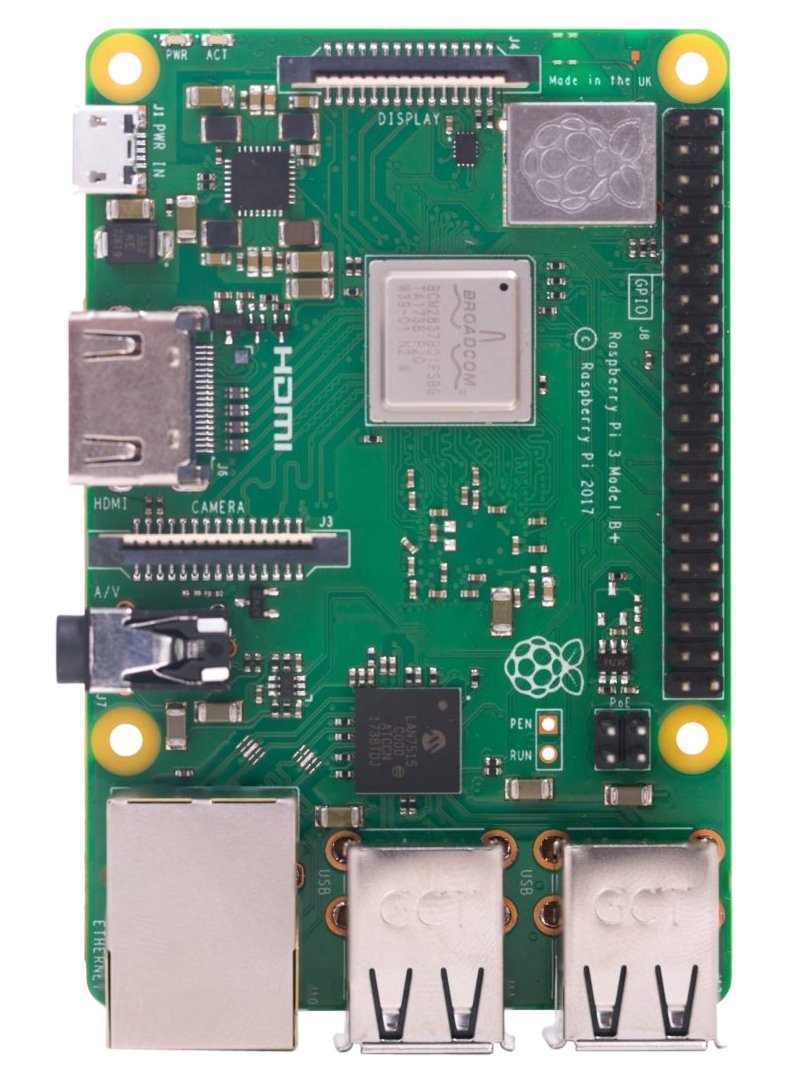 |
| Image from Amazon https://images-na.ssl-images-amazon.com/images/I/71dty6aQaML._SL1080_.jpg |
I recently purchased a Raspberry Pi 3B+. I measured how hot it would get under full load and it was around 75C. First, I 3D printed a case from Thingiverse.com to protect it. Then I decided to add a heatsink to it. I cut out a section of the case, applied thermal compound to the processor, and super glued a salvaged heatsink to the case. The heatsink already needs cleaning because I forgot to clean it first. With the heatsink, it mostly stays below 70C.
The set up was more difficult than a regular computer because the operating system wasn't pre-installed. I connected the Raspberry Pi to an old monitor, a cheap keyboard and mouse. I connected it to the internet via ethernet first, and then set up the built in wifi after adding the case. I loaded the operating system from my computer to a microSD card. I had trouble finding a microSD card because most of my devices use full size SD cards. It took two tries and 45 minutes to install the the OS, even though the instructions said it would only take a few minutes. That was frustrating.
The Raspbian Linux operating system took a little bit of getting used to. It's very similar to Windows 10, but most things are in a different place. For example, the tool bar is stuck at the top. Also there are different keyboard shortcuts that I haven't learned yet.
Amazon Affiliate links to the products I used in this project:
Thermal compound :https://amzn.to/2JCnB8J
Raspberry Pi 3 B+ https://amzn.to/2M89UwO (I found it cheaper on Arrow)
No comments:
Post a Comment