I have made a lot of changes since my last post about 6 months ago. I replaced the servo motor with a waterproof one. I added a start button with a "breathing" light effect programmed through the Arduino. Then
I upgraded the heat sink to make room for the button's MOSFET. I descaled the coffee maker part, and it made such a difference that I had to reduce the heater time so the cup wouldn't overflow, without reducing the cycle time. I replaced the switch cover with a waterproof one that has a sideways lever.
 |
| New blue servo motor |
 |
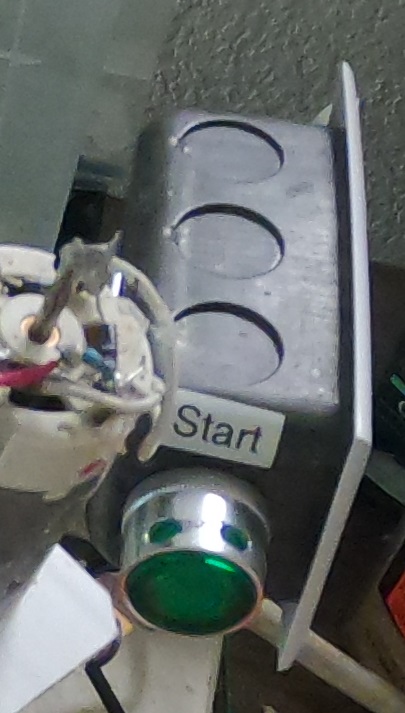
| Green flashing start button |
 |
| New main power switch |
After all those changes, I used it for awhile. And then changed it even more! I salvaged parts from a neighbor's broken Keurig. I added the 90 ounce water tank which means I don't have to refill very often. From the Keurig parts, I also used a pump, output check valve, and the water level sensing pins from the heater tank. I have a MOSFET to turn the pump on when the sensing pins are above water. I attached an MDF base so it's easier to move the whole thing. And last, I added labels to make it easier for my mom to understand the purpose of all the switches.
 |
| pump, valve, and tank |
 |
| Programming port |


No comments:
Post a Comment