Tuesday, May 31, 2022

USB-Powered LED Lamp

While walking in my neighborhood, I found a section of 1 inch diameter wire. It had a thick layer of plastic insulation and then a 3/8 inch bundle of aluminum wires inside. I don't really have a reason to use this large size of wire, so what could I do with it besides just recycling it?

I was inspired to make a desk lamp that would take advantage of the structure of the wire. I used an old gearbox as the base. I used a piece of oak with three LEDs for the top. I added a single-pole double-throw center-off switch. It selects which current limiting resistor is used in the circuit. It uses a 100 ohm resistor for the high brightness, a 2500 ohm resistor for the low brightness, and a capacitor to smooth the transition between brightness levels. I haven't moved the capacitor inside the base yet. The thin positive wire is outside the insulation of the large wire.


 Last night, I wanted to take a photo of the lamp in action. In order to take a photo, I set up a tripod outside (where it was completely dark) and turned off the flash on the Nikon camera. It chose the correct settings automatically- exposure time 4s. The daytime photo had exposure time 1/500s. Both had ISO speed 100 and f stop 4.5 in aperture priority mode.

Saturday, May 28, 2022

Laundry Basket Upgrade #2


After the successful upgrade of my rolling laundry basket to replace the plastic axles and wheels with better ones, I decided to upgrade my second laundry basket too. That way I can have one for clean laundry and one for dirty laundry. First I tried using a round plant stand. It was made of wood with 4 swivel wheels. I didn't need many tools to attach it and it did slide smoothly, but it was hard to steer.
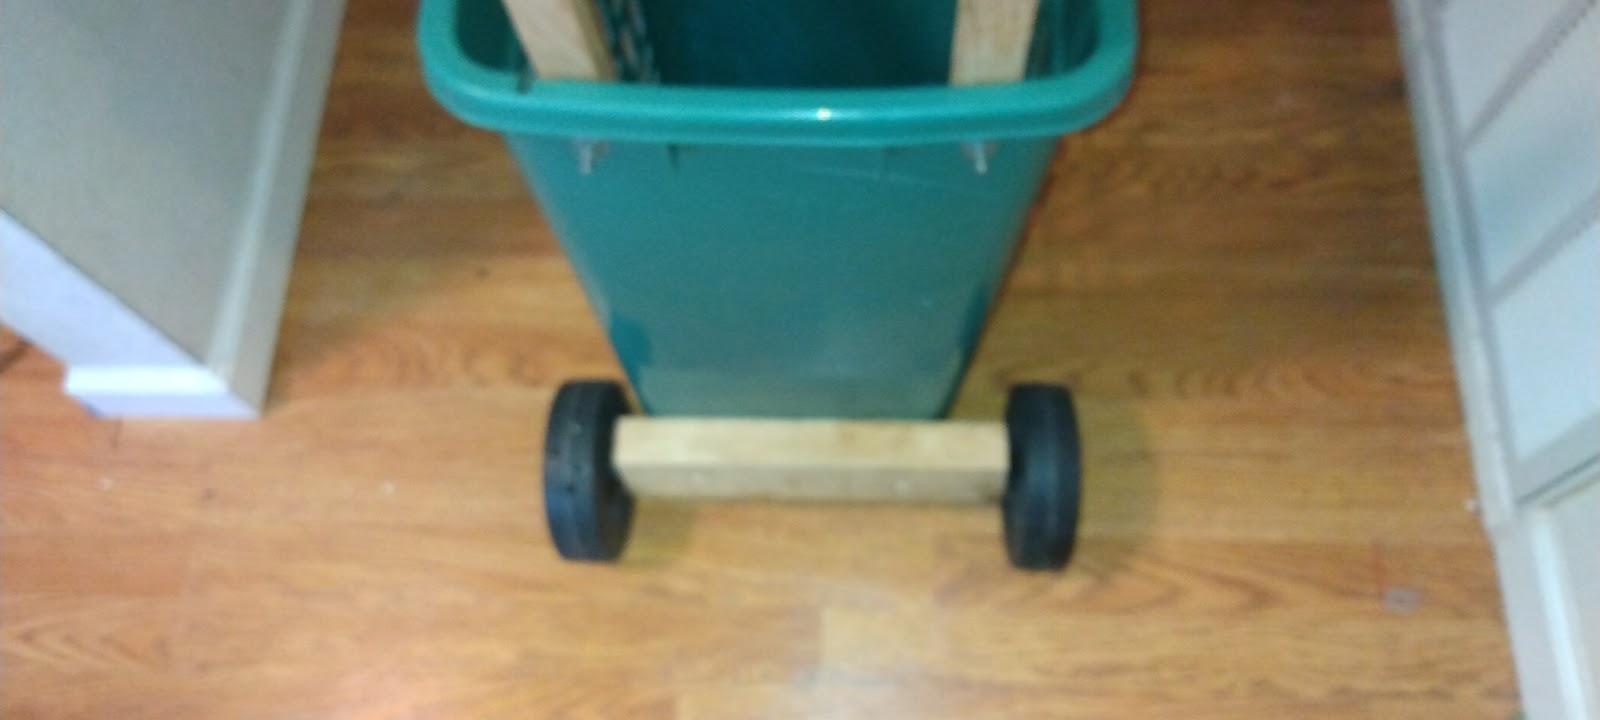
I decided to upgrade again. This time, I used large plastic wheels from an old grill. They are designed to roll a heavy grill, so they work well for a laundry basket. With two wheels, the basket needs to be tilted to roll. So I needed to add a handle. This basket didn't have a handle like the other one did, but I based the design on the other basket's handle. I used two strips of oak flooring and a piece of PVC pipe. 


Monday, May 23, 2022

Drill Press- Replaced Feed Handles with Golf Balls

When I used my drill press for a recent project, I found that the feed handles made my hands hurt. I decided to replace them with bigger knobs. I happened to have extra golf balls. These are old golf balls that I had lost in the backyard but found again recently when we were cleaning up after a tornado. 

Drilling through golf balls was messy and created colorful swarf. Golf balls are slippery and round so it was important to clamp them well. First I drilled a small hole 1/4 inch from the bottom then a larger hole 1/2 inch from the bottom. 

Cross section of hole in golf ball (not to scale)

All I had to do was unscrew the old handles and screw on the golf balls. If I get tired of the golf ball handles, it will only take a moment to put the stock handles back on.

Comparing old handle with a golf ball


Friday, May 13, 2022

Drillbit Sharpening #2- Drill Doctor 750X

Three years ago, I tried sharpening drill bits with a cheap sharpener. I got frustrated because it was hard to use and I didn't get very good results most of the time. The old sharpener would make the bits worse instead of better.

This summer, I finally bought the expensive Drill Doctor 750X. It is much easier to use, and actually works! It's faster and more precise. So far I've been getting great results with it.

Before


After sharpening
I bought a Drill Doctor at Northern Tools with a coupon. It's also available through Amazon, so here's my affiliate link: https://amzn.to/3FKJugS

Saturday, March 12, 2022

Redesigning a Rolling Laundry Basket


 I bought a standard plastic laundry basket with wheels. It has a handle at the top so it can be tilted and rolled kind of like a suitcase. But even in the process of moving in to my dorm room, the plastic wheels and plastic axles began to fail. They still kind of work, but they are wobbly, scratched, loose, and don't always roll. Sometimes I have to check several floors in different wings of the building to find an open washing machine, which means rolling a full laundry hamper over a long distance.

I had an idea to add really good wheels to this basket. I had to wait until spring break because I didn't have all my tools with me, and I also needed to shop for the wheels. I found rubber-coated wheels with metal brackets that are designed to hold enough weight. I used sections of a metal barn door rail that was going to be recycled, and cut it into shorter pieces with my angle grinder. Then I drilled holes and added threads. I added wood strips on the inside to spread out the force. Now my laundry basket rolls very smoothly!


Wednesday, January 12, 2022

Dough Proofer Box

 My family like to buy frozen balls of pizza dough. This is a cheap way to make pizza which tastes good and can be customized. To use the frozen dough, it has to be thawed in the fridge overnight and then set out to rise at room temperature for 6 hours. But room temperature during the winter can be too cold for dough. Setting the dough on top of the DVR helps keep it warm, but I thought of a better solution.

I had a small electric cooler. It's like a tiny fridge, but uses peltier cooling. It's not very efficient and is only advertised for keeping drinks cool, not for safe food refrigeration. It has no temperature controls, just runs at full power all the time it's plugged in. I knew that it's simple to reverse peltier cooling to make a heater. Then I just needed a way to regulate the temperature. I needed a way to automatically turn it off if it gets too hot, and turn it back on if it gets too cool.


I found a thermostat that would work. It's the kind you might find on the wall to control your air conditioning or heat. It has an easy-to-read dial to set a temperature and show the current temperature. It's ridiculously large for this project, but it was on sale for only $2. I looked at the simplicity of the description and pictures on the box and incorrectly assumed it was an old school mechanical thermostat. It turned out to be a newer one, requiring a CR2450 battery plus 24 volts AC all the time.


It took some experimenting with power supplies to figure out how to get it to turn on and send signals. Then I needed to add a relay. I ordered one from Amazon, but it took longer to ship than I wanted. I finished all the other parts of mounting a project enclosure box, transformer, fuse, fan, and heat sink, then testing to make sure the thermostat measured temperatures accurately, and making sure the peltier produced heat well when run in reverse. 


I used metal strips to hold the project box onto the cooler. I also added a small board with red and green LEDs to show the status of whether the heater was on (not at correct temperature) or off (up to temperature).


I was very impatient for the relay shipment to arrive because I had finished everything else I could on this project.


Amazon Affiliate link for the relay: https://amzn.to/3qk6cpP

Finally, the relay arrived, and it took less than half an hour to install it. It worked perfectly. I haven't tested the dough proofer with dough yet, but we did use it to melt chocolate.


If you need a dough proofer, there are commercial solutions out there. Some ovens might even have a low temperature setting for this. There are probably easier ways to convert a cooler to a proofer, or at least with a smaller thermostat. But this project was good because it helped me learn about thermostats without having to spend much money.

Sunday, January 9, 2022

Turning Two Broken Drills into One Working Drill


We had a Worx "switchdriver" that had a feature of switching quickly between two different bits by rotating the front half. This was convenient for putting a drillbit in one half and a screwdriver bit in the other, and switching back and forth quickly. Here's an Amazon Affiliate link to that drill: https://amzn.to/330y3mh

Picture from Amazon.com

Unfortunately, this drill stopped working. Griffin looked inside, but didn't want to completely take it apart until his dad figured out if it could be replaced under any type of warranty. So he put it on a shelf for about a year. When he took another look at it recently, he figured out that motor was fine but the speed controller failed.

Today, Griffin tried to use another cordless drill to help replace the handle on a garden rake. But when he started drilling, smoke came out of the motor of the cordless drill. He figured out that the motor of that Craftsman drill had burned out. 

So now Griffin had two broken drills- one with a good motor and bad controller, and another one with a good controller and bad motor. He wondered if he could combine the good parts from each to make one working drill.

At first glance, the motors looked identical. They were exactly the same size, and the gear on the motor shaft looked like it was the same size too.


 Griffin tried to fit the good motor into the other drill. First, he swapped the plastic coverplate that needed to lock onto the gearbox. 


The gearboxes did look different- one had five gears that surrounded the gear on the motor shaft, and the other had three. But that shouldn't matter if the motor shaft gear of each motor was identical. He tried and tried to get the motor to fit, but something was wrong.


Mom took a look and noticed that one gear had 11 teeth and the other had 12. Oh no! The only way to make this work would be to swap the gears from the motor shafts. Unfortunately, these gears weren't designed to come off. How frustrating!

Griffin used pliers, screwdrivers, hammers, crowbars, and a vise to pry the gear off the good motor. He got it off without damaging the motor. Next, he had to get the gear he needed off the bad motor. Unfortunately, the entire shaft came out of the motor with the gear. He was able to hammer the shaft out of the gear using a nailset. 

He transferred the correct gear to the good motor shaft, and then reattached the plastic coverplate. Success! The gears meshed together correctly and the plastic coverplate locked the gearbox on. 


Then he soldered the wires to the motor and screwed the housing back on. Success! The drill works great now. It sounds slightly rougher than it used to and the light does not work

Wednesday, January 5, 2022

Shoe Repair

Griffin has been walking over 10,000 steps a day as a college student on campus. This has caused him to wear out many pairs of shoes. Although the upper part of the shoes look relatively new, the soles have worn. In some pairs, the sole has cracked in half in the center. In other pairs, the heels have worn away.


Griffin decided to try repairing the newest pair to try getting more life out of them. He considered filling in the worn-away heel with hot glue, foam, wood, or rubber. Rubber seemed like a good choice (as we have seen people create soles from old tires). He finally decided to use wire insulation (probably plastic, not rubber). 


He had a scrap of 1.25" diameter wire insulation that he found on the sidewalk near a telecom box. The outside was smooth, and the inside was grooved. He flattened the wire insulation with his heat gun, and then used a pattern to cut a shape out of the plastic. Then he hot glued the plastic to the heel of the shoe. He did the same thing for the second shoe.


Now to experiment and see how long the repair will last. Which will fail first- the hot glue, the new plastic patch, or the rest of the shoe? 

Edited to add the results- it was the hot glue that failed. It didn't stick very well to the bottom of the shoe. It fell off after a couple of weeks. Another issue was that the plastic was too slippery to be a good heel material. Griffin ended up buying new sandals, steel-toed Keens that have lasted longer.

Wednesday, December 22, 2021

Air Compressor Regulator Repair

Our air compressor came with a regulator. My dad was using it with a nail gun to fix the fence when he noticed that the regulator wasn't working. The pressure gauge did work, but the regulator kept sticking and leaking and wouldn't stay at the correct pressure. My dad turned it up to add more pressure, and then turned it off until it ran out of air. I told him he should stop using it because it isn't safe, but he wanted to finish the fence to keep out people and dogs and coyotes. 


After making sure that the tank was completely de-pressurized and safely unplugged, I removed the regulator. I took apart the regulator to see if I could figure out why it was sticking. I noticed that there was rust on the pin. I used a dremel-type bit in my drill press to polish away the rust off the tip of the pin. Now the regulator works without sticking and leaking.


Monday, December 20, 2021

Pink Elephant Spray Bottle

 I like to use a simple mix of water and dish soap to clean around the house. It's cheap and less toxic and scented than some other cleaners. The only problem is I need to buy my own spray bottle for it. I always make sure to label the bottle because I learned in Chemistry class that's a good safety practice. I've bought several spray bottles from the dollar store, but they are a bad design and poor quality. Today, I bought a new spray bottle at the Habitat for Humanity Re-Store. I had a choice of a standard bottle with lines on the side, or a fun pink elephant shaped bottle. I chose the pink elephant. It was missing an eye sticker, so I hot glued a googly eye on to fix it.