
Sunday, October 25, 2015
Homemade Plywood

Saturday, October 24, 2015
Homemade Dust Collector
I saw many dust collectors like this on Youtube and decided to make a smaller version for myself.
Most of the ones on Youtube use a 5 gallon bucket. I used a large plastic container for the external dust collection tank that is about 2 gallons with a 1 gallon shopvac.


I cut the hose from the shopvac and spliced it into my dust collection system. If I had more hose, I could add a 2nd stage. The shopvac by itself worked fine, but had a smaller capacity and was harder to empty. I used a bungee cord to hold the container under the workbench.

The dust gets trapped in my bucket because of cyclonic filtration. The angle of the tube inside the bucket along with the placement of the exhaust tube to the shopvac creates a cyclone.

Most of the dust is from the scrollsaw. When I'm cutting MDF, the dust is finer than when I cut plywood, particle board, or real wood. The dust collector uses more power than the saw itself.
Most of the ones on Youtube use a 5 gallon bucket. I used a large plastic container for the external dust collection tank that is about 2 gallons with a 1 gallon shopvac.
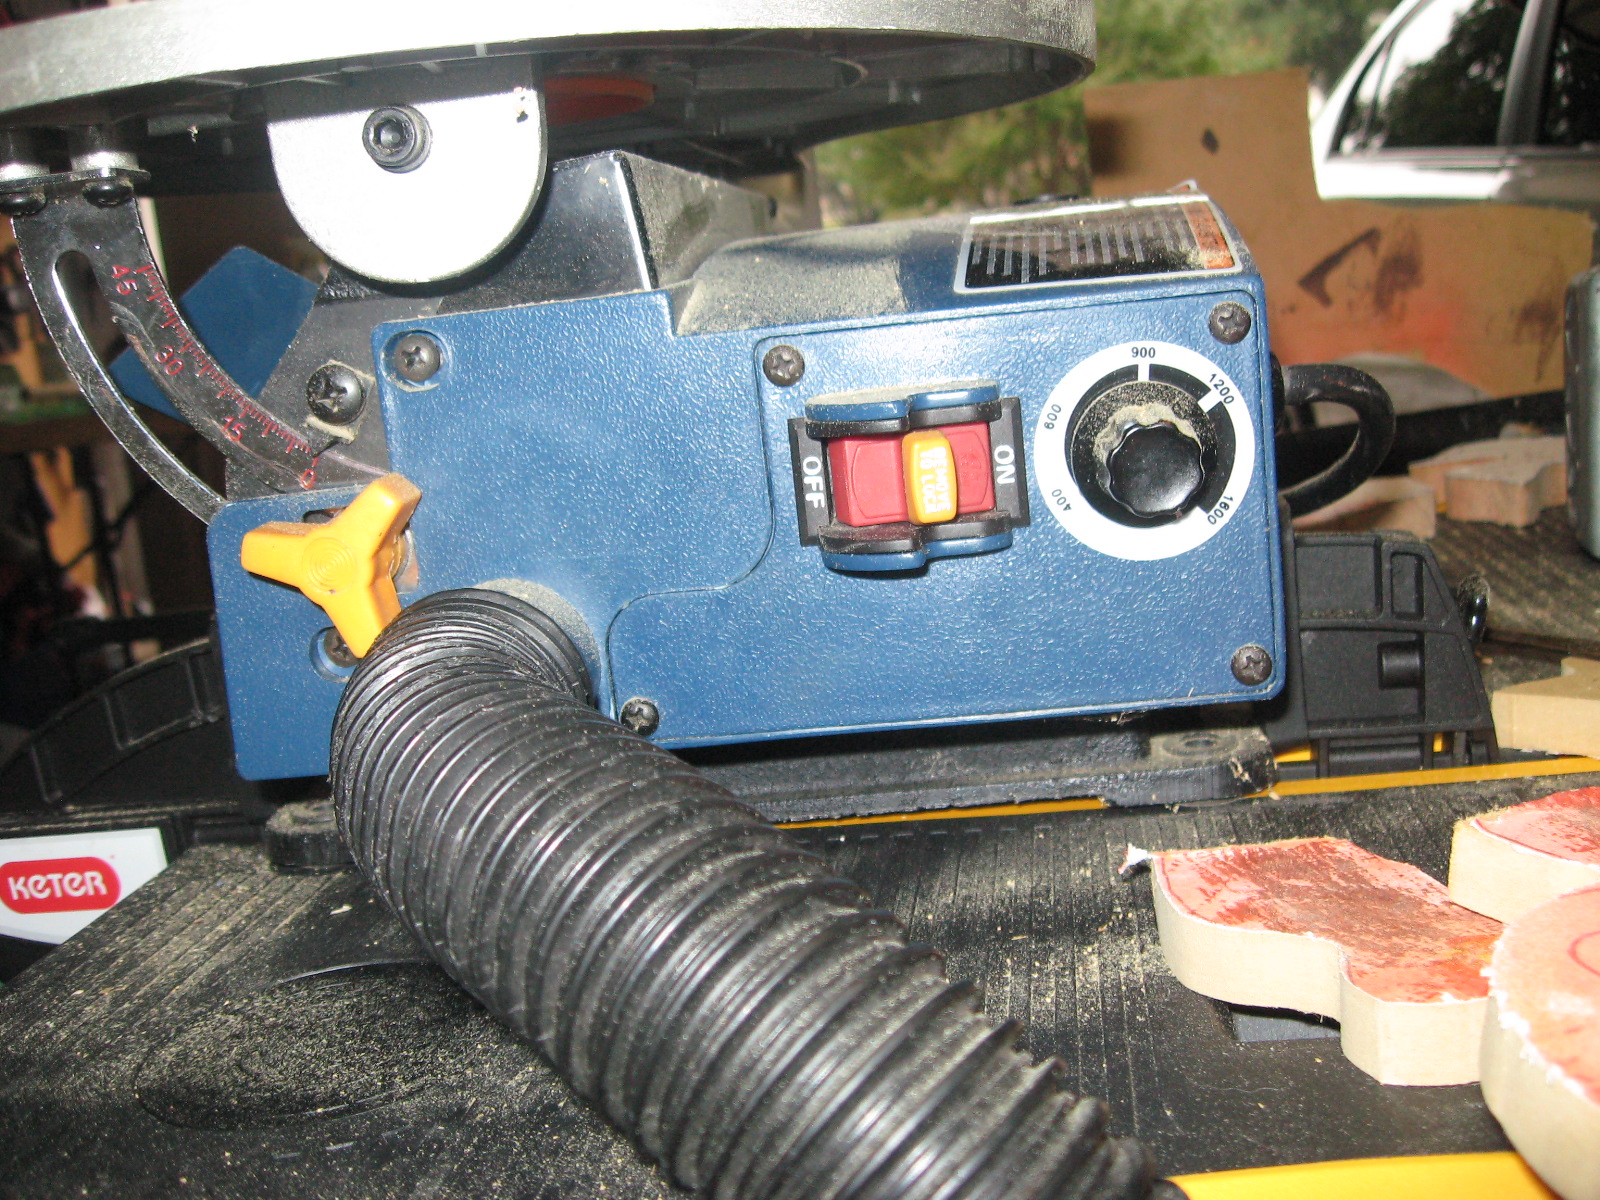

I cut the hose from the shopvac and spliced it into my dust collection system. If I had more hose, I could add a 2nd stage. The shopvac by itself worked fine, but had a smaller capacity and was harder to empty. I used a bungee cord to hold the container under the workbench.

The dust gets trapped in my bucket because of cyclonic filtration. The angle of the tube inside the bucket along with the placement of the exhaust tube to the shopvac creates a cyclone.

Most of the dust is from the scrollsaw. When I'm cutting MDF, the dust is finer than when I cut plywood, particle board, or real wood. The dust collector uses more power than the saw itself.
Wednesday, October 14, 2015
12-volt automotive outlet
After taking apart the device this AC adapter was from, I decided to use the AC adapter in another project. I first tried to with my rotary tool but the connector didn't fit well. Now I'm using it to power stuff meant to be used in a car, such as a phone charger. One problem with this AC adapter is that it uses the same input connector as my camera and I left the other cord that goes with it in my workshop. It's the highest amperage 12 volt AC adapter I own. It's 5 amps and most of the others are 1 amp.


Sunday, October 11, 2015
Homemade Flashlight

I took apart an old solar garden light because the battery was dead. I used the solar panel to make a solar annoying device. I used the driver board (which I did not take a photo of) to make a homemade flashlight. First, I coated it in hot glue so the wires wouldn't break off. The board had a resistor, an led, and a 4-lead component I could not identify, along with the wires. I used masking tape, aluminum foil, and then mounted it in a case. The case is part of the plastic from a battery backup for a piece of network equipment. I cut the section of plastic with my scroll saw. My flashlight works best with a D battery, but could work with other sizes if I modified the case. I tried "orange size" hearing aid batteries and it worked, but not for very long. It does not have a switch. You have to take the battery out to turn it off.

Sunday, September 27, 2015
Homemade Clock
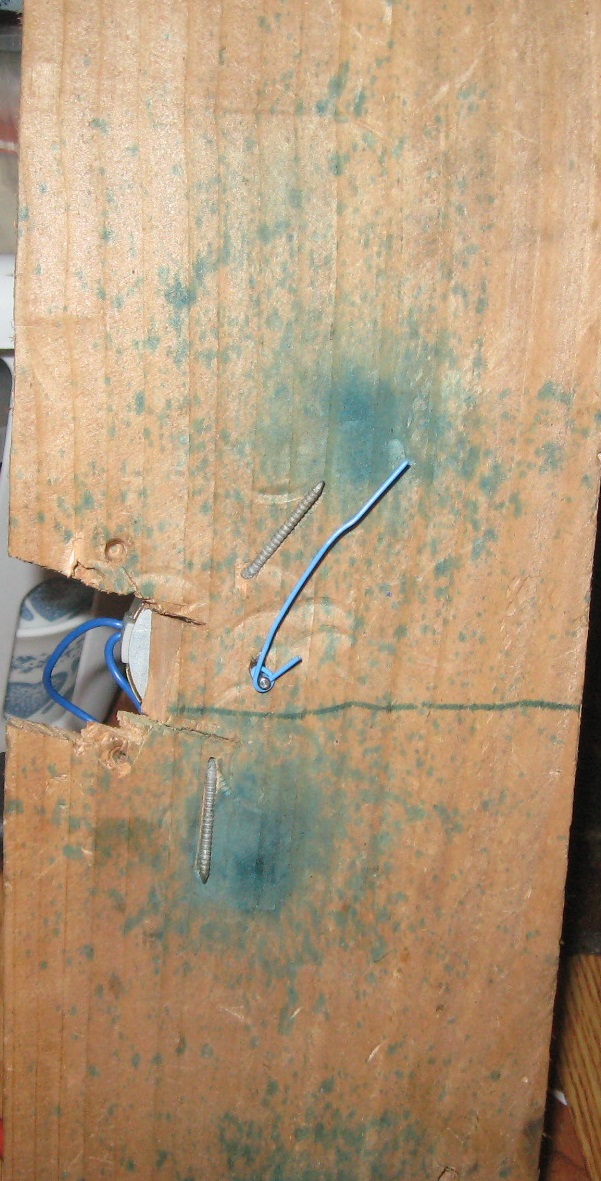
With all the talk of homemade clocks in the news lately (for example, this video from one of my favorite channels: https://www.youtube.com/watch?v=cNSt1GCVqyU ), I decided to build my own. I might take it to school to show, but only after I get permission from the principal. The motor for it is a synchronous motor that I took out of a 3-way sequencing valve. It turns very slowly at 1/3 rpm, which means it takes three minutes to do one rotation. It doesn't really make a good clock because it spins counterclockwise. The clock hand is a bent blue paperclip. I didn't put any numbers on it, but if I did it would be more of a timer than a clock.




Monday, September 14, 2015
Solar Annoying Device
I designed this device to prevent my parents from leaving the fridge door open. I used a solar garden light and a beeper. There are no other components besides the panel and beeper. This would make a great prank if you left it in a light fixture. When it is placed in the light, it beeps continuously until the light is removed.


Sunday, August 30, 2015
Toothbrush Organizer

Mom says this is interesting but the counter needs to be cleaned. I don't think this is related to this project but for some reason Mom wants to mention it anyway.
 |
| tooth paste |
 |
| tooth brush |
 |
| tube roller |
 |
| View of the drawer from below with pipe cleaner bracket. |
Friday, August 21, 2015
Lego EV3 Vehicle
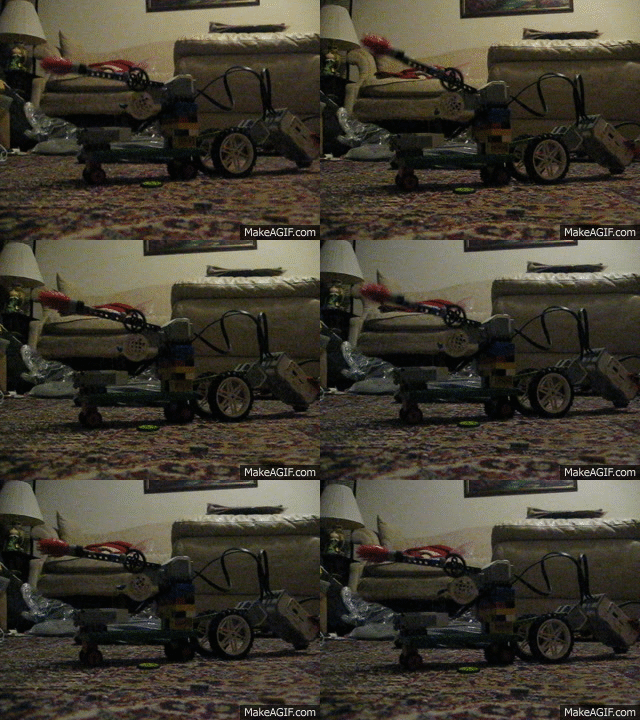
Griffin designed a vehicle with his Lego EV3 set that uses motors, gears, and the touch sensor. It uses components from other sets including most of the gears and wheels. Griffin does not like to build the projects in the book. He always likes to invent his own.


Griffin started by building a car with the programmable brick and a set of wheels. His dad says this part isn't constructed very well, and he agrees but doesn't care. The main car is followed by a trailer with the other large motor and the medium motor. The medium motor spins a set of small gears on the back. The large motor spins a rotating brush which also moves up and down through a gear system. When the touch sensor is activated, the drive motor does 5 rotations backwards, then stops. The medium motor runs 5 rotations, then stops. Then it plays some sounds and charges forward at full speed until it hits an object with the touch sensor again.
Friday, August 14, 2015
Swamp Cooler
I got the concept for the swamp cooler from a video I watched on Youtube. I wanted a window air conditioner but it uses too much power. The smallest one I found used around 600 watts and 5 amps. My swamp cooler uses less than 30 Watts. In the video, they used a different type of cooling pad, a different color of bucket, and clear tubing. They also put the water in the bucket first which I think was a stupid idea because the shavings from drilling holes got in the water.

My swamp cooler is made from a 5 gallon bucket. I used a 2 inch holewsaw and a power drill. First I tried a 12 volt cordless drill. It worked but not very well. Then I tried a plug-in drill and it worked great. The mess from the wood fibers combined with the plastic shavings looked like frosted shredded wheat :). It uses an aspen pad which is shredded wood. It looks better in person than it did online. The fan was 4$ . I recommend using a low voltage fan. It isn't designed for damp locations but the risk of shock is low because it is only USB 5 volts. It operates sort of like a computer fan. It appears to be a brushless motor. The tubing was a scrap from my pond project. The part I used for the plug for the easy drain came with the pump for the pond. I added hot glue to make it seal. I used condensate from our air conditioner for the water. Usually most of this water gets sent to my pond through a long garden hose. My bucket only holds a couple gallons of water- I haven't measured exactly.
This project cost less than $40 to build. An air conditioner would have cost at least $120. I could cycle the pump on and off to save power and heat. It does not work as well as an air conditioner. But it works well for the price and energy consumption. To measure the temperature I used a Nubee nub8380 infrared thermometer with laser. The laser thermometer is the easiest way to measure the temperature and it has a back-lit screen. Last night I measured 87.1 input and 79.2 output temperature. Today I measured 91.2 input and 83.1 output. The humidity is 43%.
I made a video about this project. https://www.youtube.com/watch?v=HanHUI48CdY
 |
| easy drain |
Tuesday, August 4, 2015
Interesting Battery Cover
I found this interesting battery tab on a Kodak camera. It takes 2 double AA batteries or a specialized camera battery (CRV3). I think it is cool because it prevents the double AAs
 from making contact when installed backward. The tip on the positive end of the battery will sit in the cutout so that it won't make contact.

Subscribe to:
Posts (Atom)